

 I'm in heaven over this latest test knit! As our weather has finally added a little nip of cool air to our days, this is my new go-to wrap for running errands. It is the Haven Poncho by designer Holli Yeoh. She has designed a wonderful group of patterns for Felicia Lo's Sweet Georgia Yarns and created a book entitled Tempest.
While this collection is selected to have optimal beauty when using my favorite line of luxury yarns, it works well in yarns from my stash collection as well. For my test knit I used Madtosh Merino Light yarns in a variety of colorways - all were already in my craft room just waiting for me to combine them into a unique, one-of-a-kind, stylish statement piece!

 In Haven, you carry double strands of fiber, first the same colorway then blending by carrying two independent colors. The blending is colorful and subtle at the same time. I also placed the simple wooden buttons I found on both sides, making this a truly reversible poncho. While the design calls the reverse garter section the "front", it works and looks great with the stockinette side forward also. This is a slightly deceptive pattern in that the reverse garter stitch has a tendency to row out (group two rows together in an unintended striped look) if you don't pay close attention. I used a smaller needle on the purl stitches to help offset this issue. I also knit slower and with more attention than normally given a simple pattern. It will take even the fastest knitter a bit of time to get through the yardage of this fabulous piece. Take time and persevere because I'm confident that this will become your favorite wrap to grab when rushing out the door!


 The cost of the fiber is another issue for this piece. If knit in the yummy fiber suggested, the cost is very near $400! Even using the lovely Merino Light, the cost of fiber can run near $200. I recommend that you knit this piece but as a heirloom item that you intend to wear now and pass down later. This means that you will also have to be a bit more reserved in your colorway choices - keeping to colors that work with a multitude of other colors in your wardrobe - base colors that go with whatever you use in your new favorite poncho.
PS These photos were taken after I finished the poncho and before the pattern was released. This means that my husband (acting photographer) took these photos in August on one of the hottest days of the year - hence the cropped pants and sandals and a couple blurry ones taken in a rush!
The cost of the fiber is another issue for this piece. If knit in the yummy fiber suggested, the cost is very near $400! Even using the lovely Merino Light, the cost of fiber can run near $200. I recommend that you knit this piece but as a heirloom item that you intend to wear now and pass down later. This means that you will also have to be a bit more reserved in your colorway choices - keeping to colors that work with a multitude of other colors in your wardrobe - base colors that go with whatever you use in your new favorite poncho.
PS These photos were taken after I finished the poncho and before the pattern was released. This means that my husband (acting photographer) took these photos in August on one of the hottest days of the year - hence the cropped pants and sandals and a couple blurry ones taken in a rush!
This recipe is for a family favorite. It is so quickly put together and that alone makes it a great go-to for hectic night meals. Add to that the versatile nature of this recipe and you have something you will find yourself making each week! Your family will have something different because you will be changing the final meal you serve from the base recipe. You can use canned goods, frozen or fresh as long as you pay attention to the amount of liquid accumulating in the pan. Too much liquid might make your chosen dish soggy.
 What you need:
Ground Beef (or turkey)
Corn
Salsa
Diced Tomatoes
Spanish Rice

 Black Beans (optional)

Putting it all together:
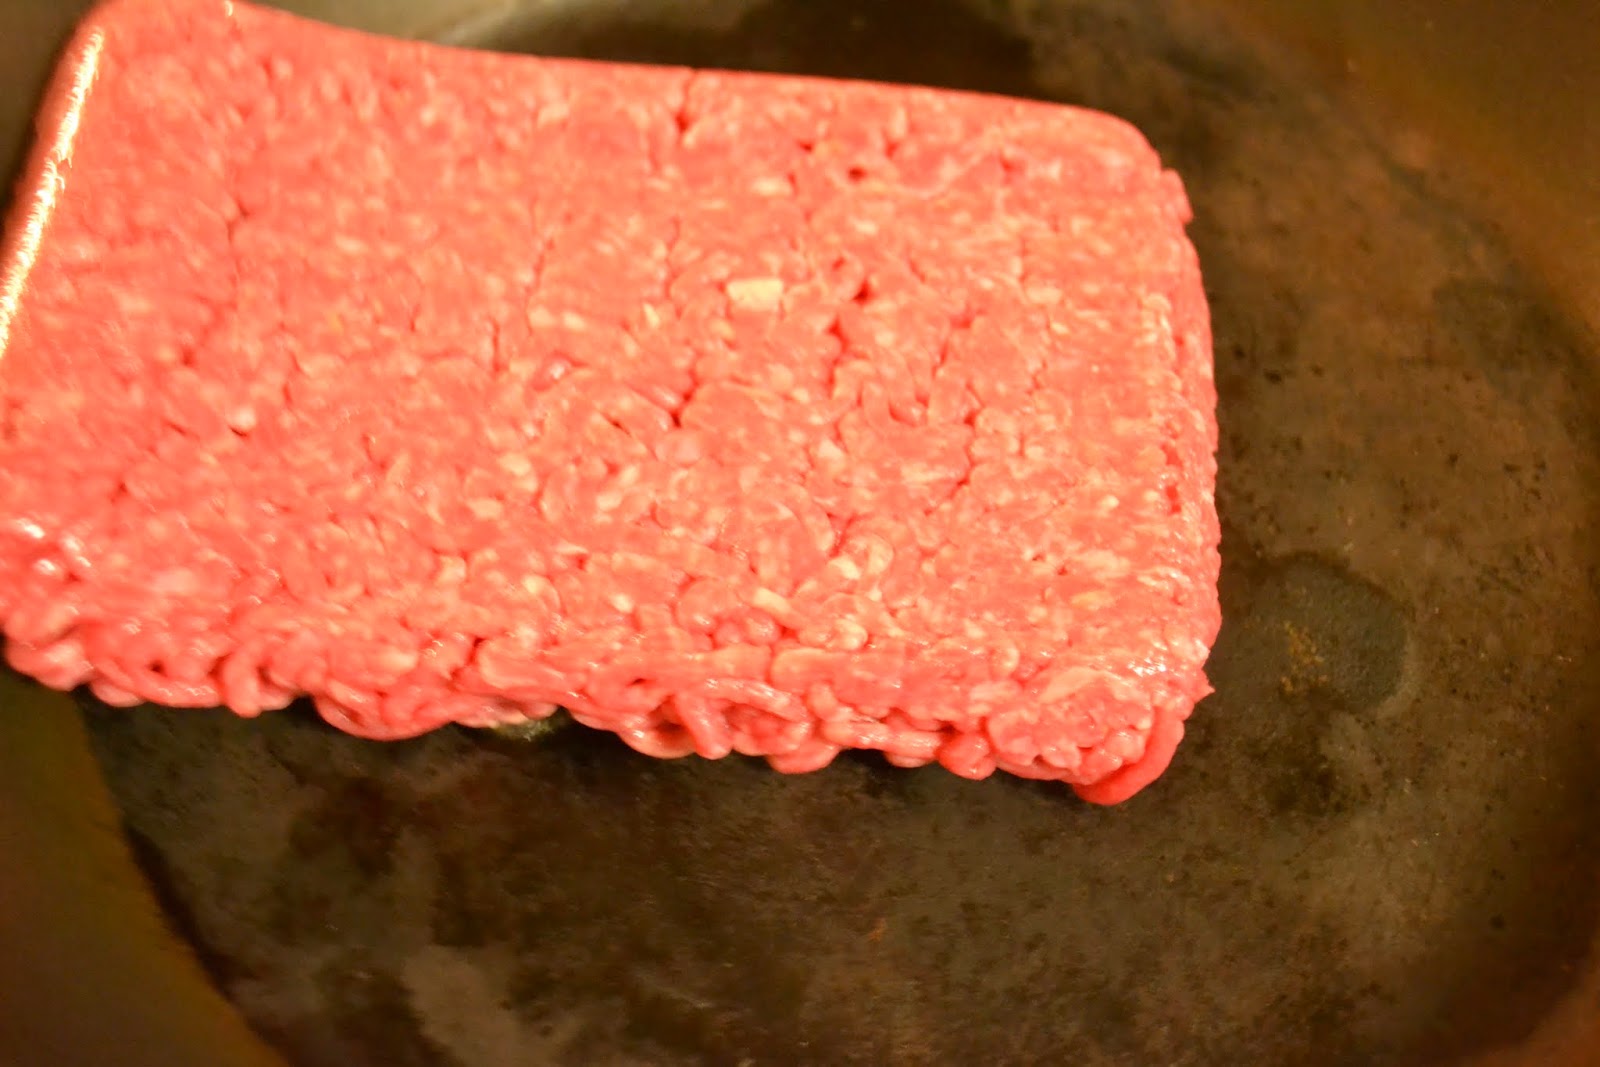
 Brown and drain the meat. Prepare rice according to directions. Drain the corn and add it to the meat. Add the salsa, diced tomatoes, and beans (drain and rinse these well).
 Put the meat mixture over chips, salad greens, in a tortilla, over chicken or cube steak, or eat it as its own meal. I have even made soup using this as a base - it's so easy, just add chicken stock and heat through! This freezes well and reheats for another great meal when you find yourself short of time and in need of a good meal or snack.
 My more recent knitting projects have been baby sweaters for little boys. I always love the opportunity to get to use my creative juices for little ones but seldom get to knit for the boys. This was a special treat as the first sweater was combined with a blanket to become a gift for the newest member of our family! Noah is the son of my husband's cousin and his wife. He is an answer to prayers as he took a loving couple into the awesome adventure of family life.
 Noah lives in a colder climate than Texas, so I was able to use a wool blend fiber in his sweater and blanket. I knit the 12-18 month size since Noah is no longer a newborn. The sweater pattern was designed by Nancy Lutz and is called Lutzling Sweater. It was knit in this perfect color of green in Berroco Vintage DK.


 The second sweater was knit for my sister-in-law to give to her 'just-like-my-own' son in preparation for the birth of his first child, a son. It is a brighter, more updated, version of little boy blue and was knit in Berroco Comfort DK Solid yarn. I love the little star buttons in the mixed colors. These are a nod to the stars and stripes in our flag and to the baby's father for his military service. The pattern is one I've worked before and tend to return to because I love it so much - Seamless Yoked Baby Sweater by Carole Barenys. It knits up beautifully into what I think may be the perfect infant sweater.


 Recently I was thrilled to be able to share in a knitting exchange with my knit 'sistahs'. With this exchange we were to make a scarf for another while a secret friend made one for me. I selected the pattern Leftie by Martina Behm because I love the look of it and it makes use of leftover scraps of yarn.
 The base yarn is Manos del Uruguay Fino in the colorway Silhouette. This color was selected because it seemed to me to be perfect for dressing up or wearing with a favorite pair of blue jeans. It seems to be a great neutral complimenting the fun colors of the various luxury yarns.


